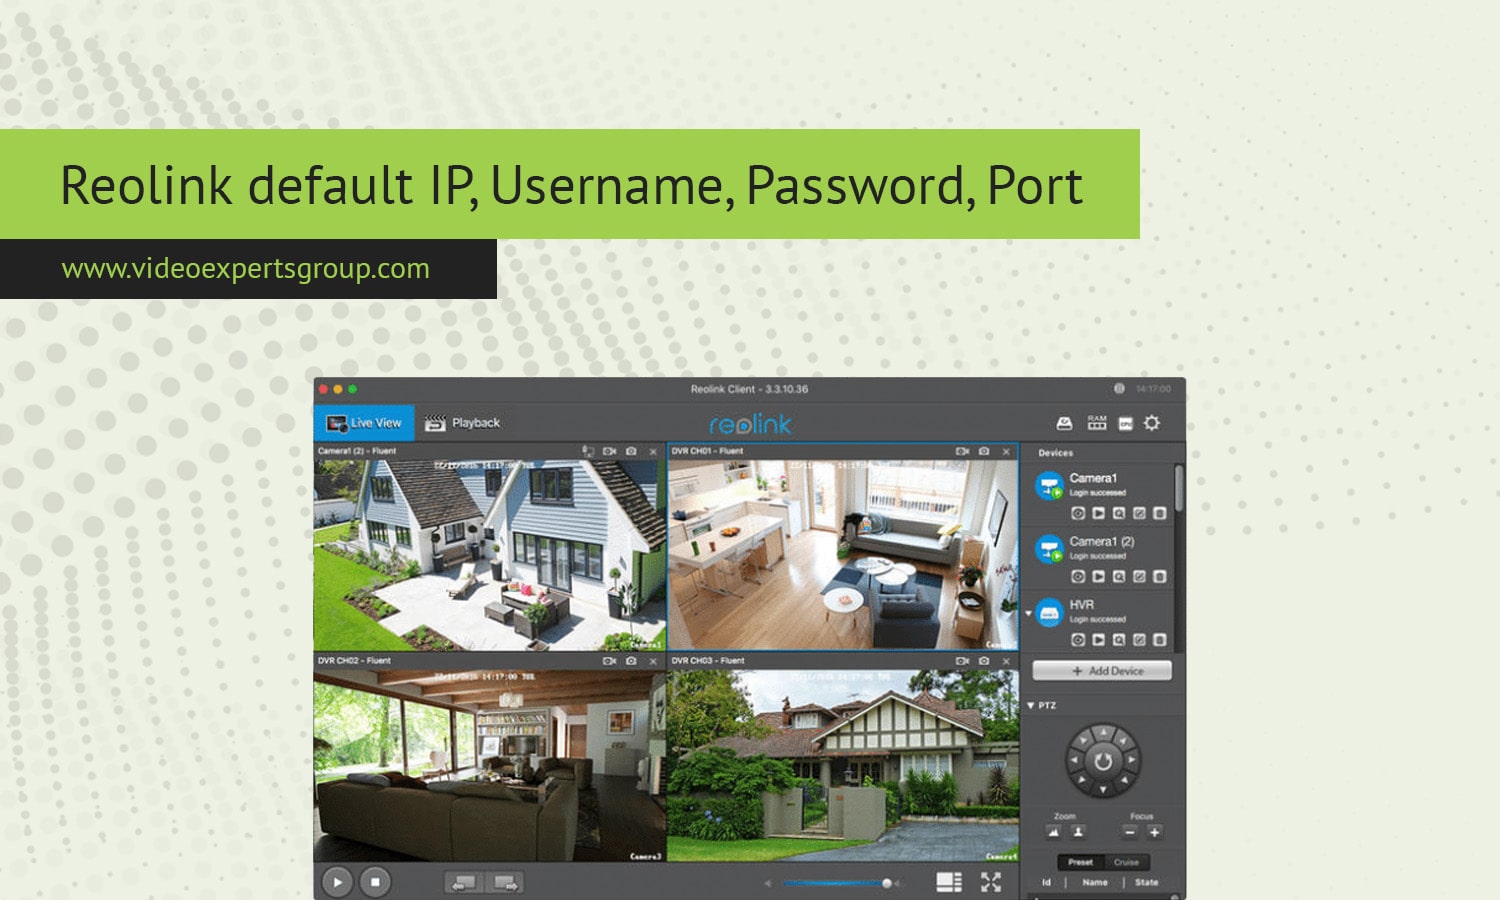
When setting up a Reolink camera or NVR (Network Video Recorder) system for the first time, knowing the default settings such as IP address, username, password, and port can be crucial for seamless configuration. This guide provides a detailed yet straightforward explanation of these default parameters to help you get started quickly.
Default IP Address
The IP address is a unique identifier that allows devices on a network to communicate with each other. In most cases, Reolink devices, such as cameras and NVRs, are set to use DHCP (Dynamic Host Configuration Protocol) by default. This means they automatically obtain an IP address from the router. However, if you need to manually configure your Reolink device, knowing its default IP address can be helpful.
Default IP for Reolink Devices:
- Reolink IP Cameras: 192.168.0.100
- Reolink NVRs: 192.168.0.99
These default IP addresses allow you to access the camera or NVR directly by typing the IP into a web browser or Reolink Client software. However, if your network uses a different IP range, you may need to adjust the camera’s or NVR's IP settings to match your network.
Default Username
The username is essential for logging into the device’s interface to access settings, view footage, or manage the system. Reolink devices come with a default username to simplify the initial setup.
- Default Username: admin
This username is the default across all Reolink devices, whether you’re using an IP camera or an NVR. The admin username typically has full access rights, allowing you to configure all settings on the device.
Default Password
Security is critical when setting up surveillance systems, and your Reolink device comes with a default password for initial access. It’s important to note that you should change this password as soon as possible to prevent unauthorized access.
- Default Password: No default password (leave the password field blank)
During the first-time setup, Reolink devices do not have a preset password. You are prompted to create a new password immediately after logging in with the admin username. This step ensures that you set a secure password, which is vital for protecting your surveillance footage and device settings.
Default Port
Ports are like channels that allow network traffic to flow to and from your Reolink device. Specific ports are used for different functions, such as video streaming, device management, and more.
- Default HTTP Port: 80
- Default RTSP Port: 554
- Default ONVIF Port: 8000
- Default HTTPS Port: 443
These default ports are crucial for the device’s communication with other network devices and for remote access. For example, port 80 is commonly used for accessing the camera’s web interface, while port 554 is used for RTSP (Real-Time Streaming Protocol), enabling you to stream video to other software or devices.
Understanding the default IP address, username, password, and port settings of your Reolink device is the first step in effectively managing and securing your surveillance system. While these defaults are designed to make initial setup straightforward, it’s essential to customize them to match your specific network environment and to enhance security. After the initial setup, always remember to change the default password and, if necessary, adjust the default ports to suit your network’s needs.
With this knowledge, you’re well-equipped to begin configuring your Reolink device, ensuring it operates smoothly and securely within your network.
FAQ