With the increasing need for security and surveillance, many people are looking for cost-effective and flexible solutions to monitor their homes or businesses. One such solution is to use a Raspberry PI as a Network Video Recorder (NVR) for CCTV. This small, affordable computer can be set up to record and manage video footage from multiple IP cameras, providing a reliable and customizable security system. In this guide, we will explain what a Raspberry PI is and how to use it as an NVR for your CCTV setup.
What is Raspberry PI?
Raspberry PI is a small, affordable, and versatile computer that can be used for various projects. It is roughly the size of a credit card and is capable of performing many tasks that a desktop computer can do, such as browsing the internet, playing videos, and running software applications. Developed by the Raspberry Pi Foundation, it aims to promote computer science education and digital making.
How to Use Raspberry PI as an NVR?
An NVR, or Network Video Recorder, is a device that records video data from IP cameras over a network. Using a Raspberry PI as an NVR can be a cost-effective and customizable solution for home or small business security systems. Below are the steps to set up a Raspberry PI as an NVR:
- Gather Necessary Materials
To get started, you will need the following:
- A Raspberry PI (Raspberry Pi 4 is recommended due to its better performance)
- A microSD card (at least 32GB) with Raspberry Pi OS installed
- Power supply for Raspberry PI
- Ethernet cable or Wi-Fi for network connectivity
- IP cameras
- External storage (optional but recommended for storing video footage)
- Monitor, keyboard, and mouse for initial setup
- Set Up Raspberry PI
- Install Raspberry Pi OS: Download the Raspberry Pi Imager tool from the official website, and use it to write the Raspberry Pi OS to the microSD card. Insert the microSD card into the Raspberry PI.
- Initial Configuration: Connect the Raspberry PI to a monitor, keyboard, and mouse. Power it on and go through the initial setup, including setting up the network connection.
- Update System: Open the terminal and run the following commands to update the system:
sudo apt update

sudo apt upgrade
- Install NVR Software
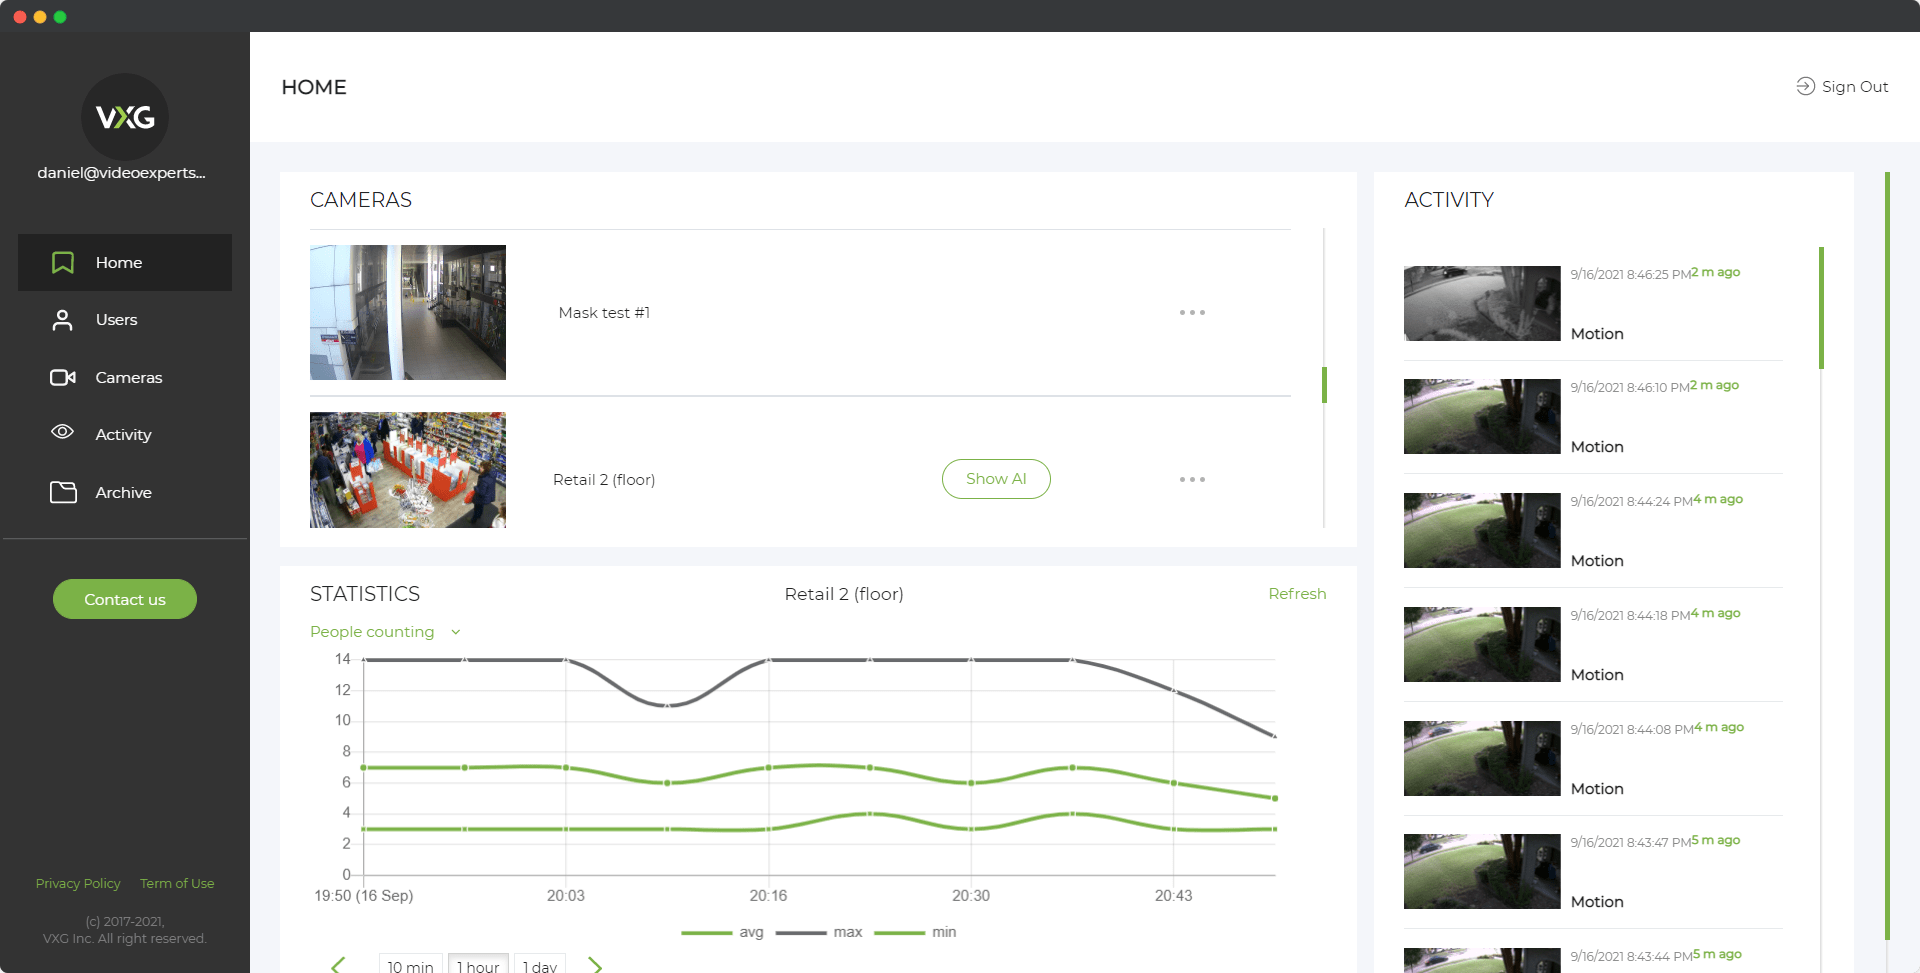
There are several software options available for turning your Raspberry PI into an NVR. One popular choice is MotionEye, an easy-to-use, open-source surveillance system.
- Install Dependencies: Open the terminal and install necessary dependencies:
sudo apt install ffmpeg v4l-utils - Install MotionEye: Download and install MotionEye:
sudo apt install motion

sudo pip install motioneye - Prepare Configuration: Create a configuration directory and initialize the configuration:
sudo mkdir -p /etc/motioneye

sudo cp /usr/local/share/motioneye/extra/motioneye.conf.sample /etc/motioneye/motioneye.conf

sudo mkdir -p /var/lib/motioneye
- Install Dependencies: Open the terminal and install necessary dependencies:
- Configure MotionEye
- Start MotionEye: Start the MotionEye server and enable it to start on boot:
sudo systemctl start motioneye

sudo systemctl enable motioneye - Access Web Interface: Open a web browser and navigate to http://<Raspberry_PI_IP>:8765. You will be prompted to log in. The default username is admin with no password.
- Add Cameras: In the MotionEye web interface, add your IP cameras by entering their network details. Configure the camera settings such as resolution, frame rate, and recording schedules according to your needs.
- Start MotionEye: Start the MotionEye server and enable it to start on boot:
- Set Up Storage
If you have external storage, such as a USB drive, you can configure MotionEye to save recordings there:
- Mount the Drive: Plug the external storage into the Raspberry PI and mount it.
- Configure Storage Path: In the MotionEye web interface, go to the storage settings and specify the path to the external storage.
- Fine-Tune Settings
Adjust the various settings in MotionEye to optimize performance and storage usage. This includes configuring motion detection, video quality, and retention period for recorded footage.
Using a Raspberry PI as an NVR is an affordable and effective way to set up a CCTV system. By following these steps, you can build a customizable surveillance system tailored to your specific needs. With the flexibility of the Raspberry PI and the powerful features of MotionEye, you can ensure that your property is well-monitored and secure.