Panasonic IP cameras are widely used in various surveillance applications due to their reliability, advanced features, and ease of use. Whether you are setting up a new system or troubleshooting an existing one, knowing the default settings for your Panasonic IP camera can save time and effort. These settings include the default IP address, username, password, and port number, which are crucial for accessing and configuring the camera.
Default IP
The default IP address is the initial network address assigned to a Panasonic IP camera, allowing it to be identified and accessed on a local network. For most Panasonic IP cameras, the default IP address is typically 192.168.0.10. This IP address is within the private IP range, meaning it is only accessible within the local network and not from the internet. To connect to the camera for the first time, ensure your computer is on the same network segment, such as 192.168.0.x, and then enter the default IP address in your web browser's address bar.
In some cases, if the camera has been previously configured, the IP address might have been changed. If you are unable to access the camera using the default IP address, you may need to reset the camera to its factory settings or use a network scanning tool to identify its current IP address.
Default Username
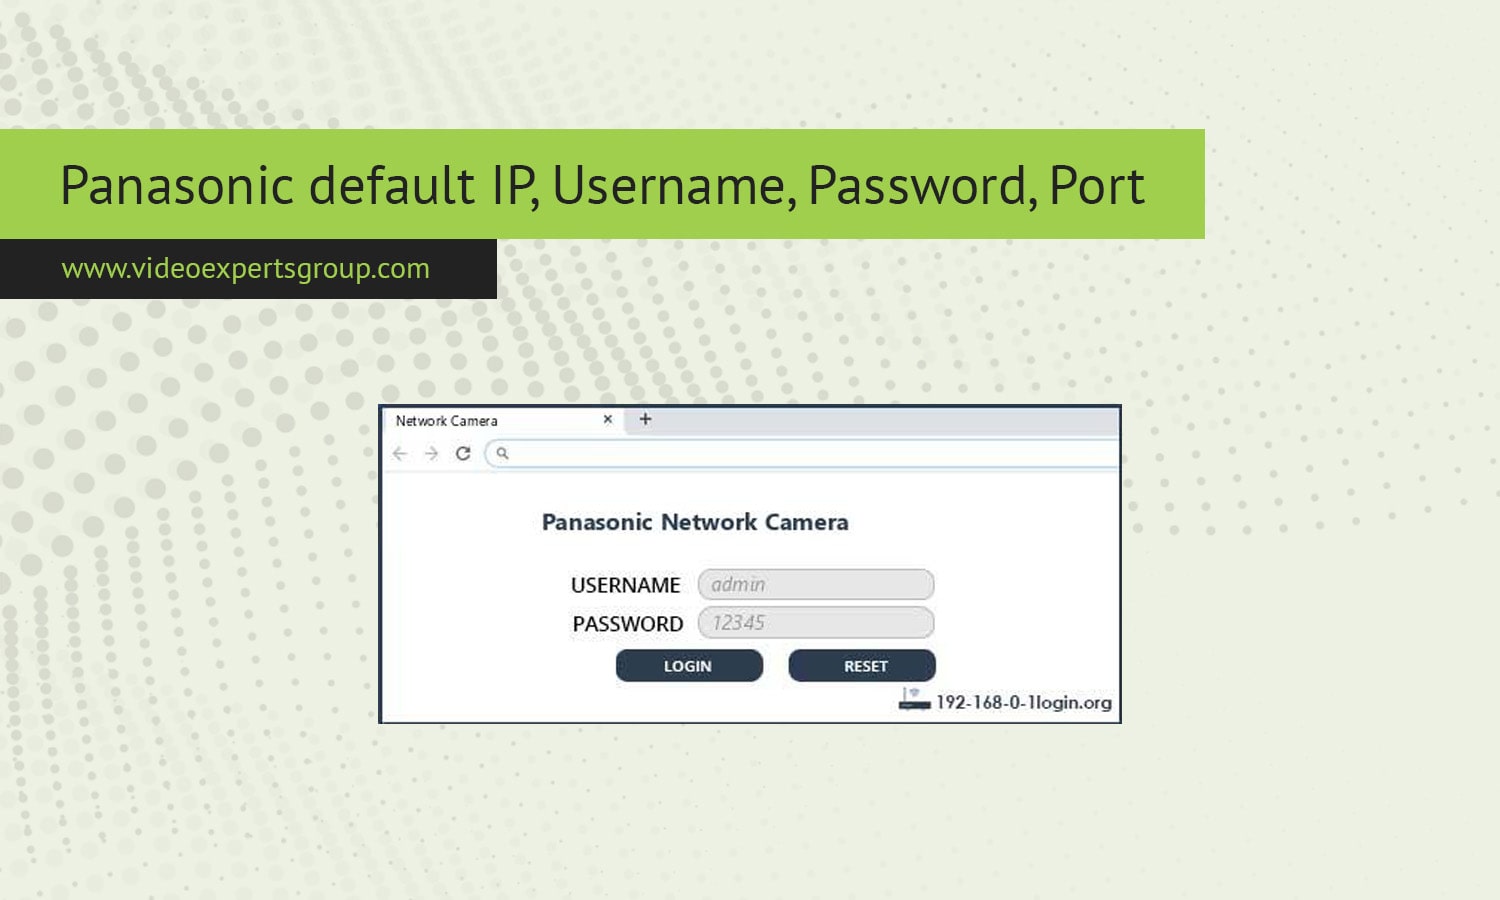
The default username is the preset login credential required to access the camera’s interface. For most Panasonic IP cameras, the default username is admin. This account typically has full administrative privileges, allowing you to configure all settings, including network parameters, video quality, and security options.
It is important to note that the default username might vary depending on the camera model or firmware version. Therefore, checking the camera’s user manual or Panasonic’s official documentation for the specific model you are using is advisable.
Default Password
The default password is another essential credential required for logging into the Panasonic IP camera. In many Panasonic IP camera models, the default password is left blank, meaning that you only need to enter the username "admin" without typing anything in the password field. This simplifies the initial setup but poses a significant security risk if not changed after installation.
In other models, the default password might be set to 12345 or another simple sequence. Regardless of the default setting, it is highly recommended to change the password immediately after the initial login to prevent unauthorized access. Choose a strong password that includes a combination of uppercase and lowercase letters, numbers, and special characters.
Default Port
The default port number is the communication gateway that the Panasonic IP camera uses to send and receive data over the network. The default port for most Panasonic IP cameras is 80. This is the standard port for HTTP traffic, allowing you to access the camera’s web interface via a web browser.
In some instances, especially for secure connections, the camera might use port 443 for HTTPS traffic, ensuring that data transmission is encrypted. Additionally, if you are setting up remote access, you may need to configure port forwarding on your router to allow external access to the camera using the appropriate port number.
Changing the default port can enhance security by reducing the risk of unauthorized access, as potential attackers often scan standard ports like 80 and 443 first. However, remember that changing the port requires updating the way you access the camera; for example, if you set the port to 8080, you would access the camera by entering http://192.168.0.10:8080 in your web browser.
Understanding the default IP address, username, password, and port of your Panasonic IP camera is essential for effective setup and management. These default settings are designed to facilitate initial access and configuration, but changing them as soon as possible is vital to secure your surveillance system. Always refer to the specific model's documentation for the most accurate information and follow best practices for network security.
FAQ