Lorex IP cameras are widely recognized for their reliability, high-definition video quality, and ease of installation. These cameras are typically used for both residential and commercial security systems, providing users with real-time surveillance capabilities. When setting up a Lorex IP camera, understanding the default settings such as IP address, username, password, and port is crucial for initial configuration and ensuring a secure connection. This article provides a detailed overview of these default settings and how to utilize them effectively.
Default IP Address
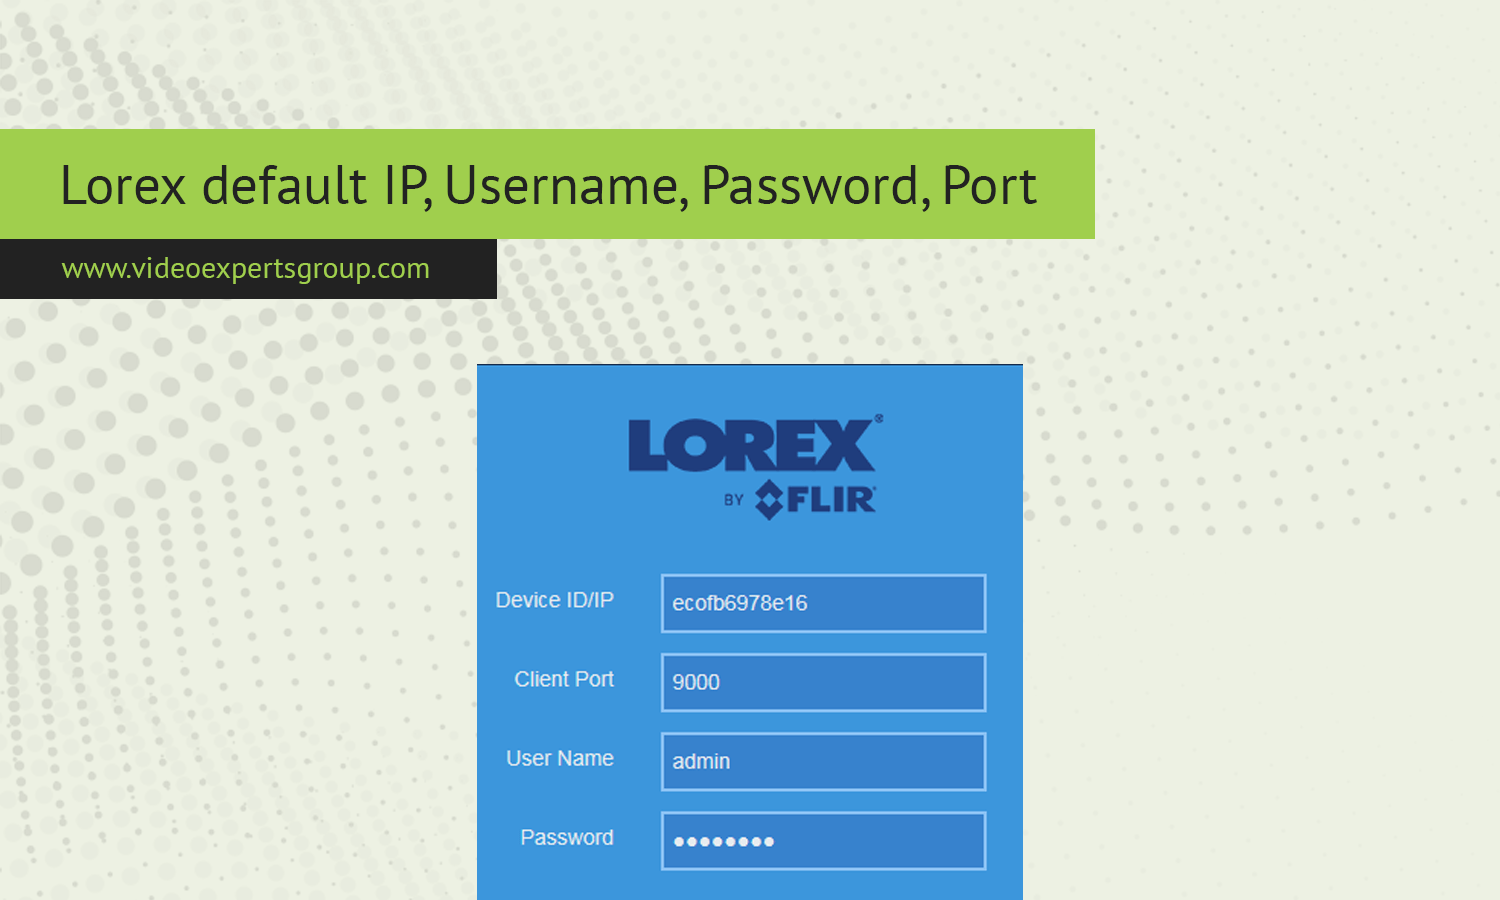
The default IP address is a vital aspect of configuring your Lorex IP camera, as it allows the camera to communicate with your network. For most Lorex IP cameras, the default IP address is set to 192.168.1.108. This private IP address is within the standard range of addresses used for local area networks (LANs).
To access your Lorex camera's interface, you must connect your computer or mobile device to the same network as the camera. Once connected, you can enter the default IP address into a web browser’s address bar, which will direct you to the camera's login page. If you have trouble accessing the camera through this IP address, ensure that your network is properly configured to allow devices to communicate within the same IP range.
Default Username
The default username for Lorex IP cameras is typically admin. This is a common default username used by many manufacturers to simplify the initial setup process. The username is case-sensitive, so make sure to enter it exactly as provided.
Once you have accessed the camera’s login page using the default IP address, you will be prompted to enter this default username. During the first login, it's recommended to change the default username to something unique to enhance security, especially in scenarios where the camera is exposed to the internet.
Default Password
The default password for Lorex IP cameras is usually admin or left blank (no password). Like the default username, the password is also case-sensitive. If the camera prompts you for a password and the default doesn't work, check the camera’s manual or documentation, as some models may have a different initial password.
After logging in for the first time using the default password, it is strongly advised to change it immediately. A strong password should combine letters, numbers, and special characters to prevent unauthorized access.
Default Port
The default port is another essential element for configuring your Lorex IP camera, particularly if you plan to access the camera remotely. The default port for most Lorex IP cameras is 80. This is the standard port used for HTTP traffic and is commonly used by many devices and web services.
If you are setting up remote access, you may need to configure port forwarding on your router, directing external traffic to the camera’s IP address via port 80. However, for enhanced security, it’s recommended to change the default port to a less common one, as port 80 is frequently targeted by malicious actors.
Understanding the default IP address, username, password, and port of your Lorex IP camera is crucial for a smooth initial setup and secure operation. While these default settings are convenient for getting started, changing them as soon as possible is essential to protect your camera and network from unauthorized access. Always refer to your specific camera model’s documentation for the most accurate information, and consider implementing additional security measures like network segmentation and encryption to further safeguard your surveillance system.