Connecting an IP camera via ONVIF ensures compatibility across devices and provides a standardized setup process. This guide explains how to connect an IP camera using ONVIF, from understanding the protocol to configuring the connection successfully.
What Is ONVIF and Why Use It?
ONVIF (Open Network Video Interface Forum) is a global standard for the interoperability of IP-based security devices. It enables seamless integration of cameras, recorders, and software, even if they are from different manufacturers. The benefits of using ONVIF include:
- Cross-device compatibility.
- Easy integration into existing systems.
- Access to advanced features like motion detection and audio support.
Preparing for ONVIF Integration
Before starting, ensure you have the following:
- An ONVIF-compliant IP camera.
- A network video recorder (NVR) or video management software (VMS) supporting ONVIF.
- A stable network connection.
- The camera’s credentials (username and password).
- Access to your network’s router if necessary.
Step 1: Connect the IP Camera to the Network
- Power up the camera: Plug in the camera to a power source or use Power over Ethernet (PoE) if supported.
- Connect to the network: Attach the camera to your router or switch using an Ethernet cable. For Wi-Fi cameras, connect via the camera’s mobile app or web interface.
- Note the IP address: Use the camera’s app, a network scanning tool (like Advanced IP Scanner), or the camera’s user manual to find its IP address.
Step 2: Enable ONVIF on the Camera
- Access the camera’s interface: Open a web browser and enter the camera’s IP address. Log in using the default credentials.
- Locate the ONVIF settings: Navigate to the camera settings, often under "Network" or "Integration."
- Enable ONVIF: Toggle ONVIF support to "On."
- Set ONVIF credentials: Some cameras require you to create a separate username and password for ONVIF access.
Step 3: Add the Camera to an ONVIF-Compatible NVR or VMS
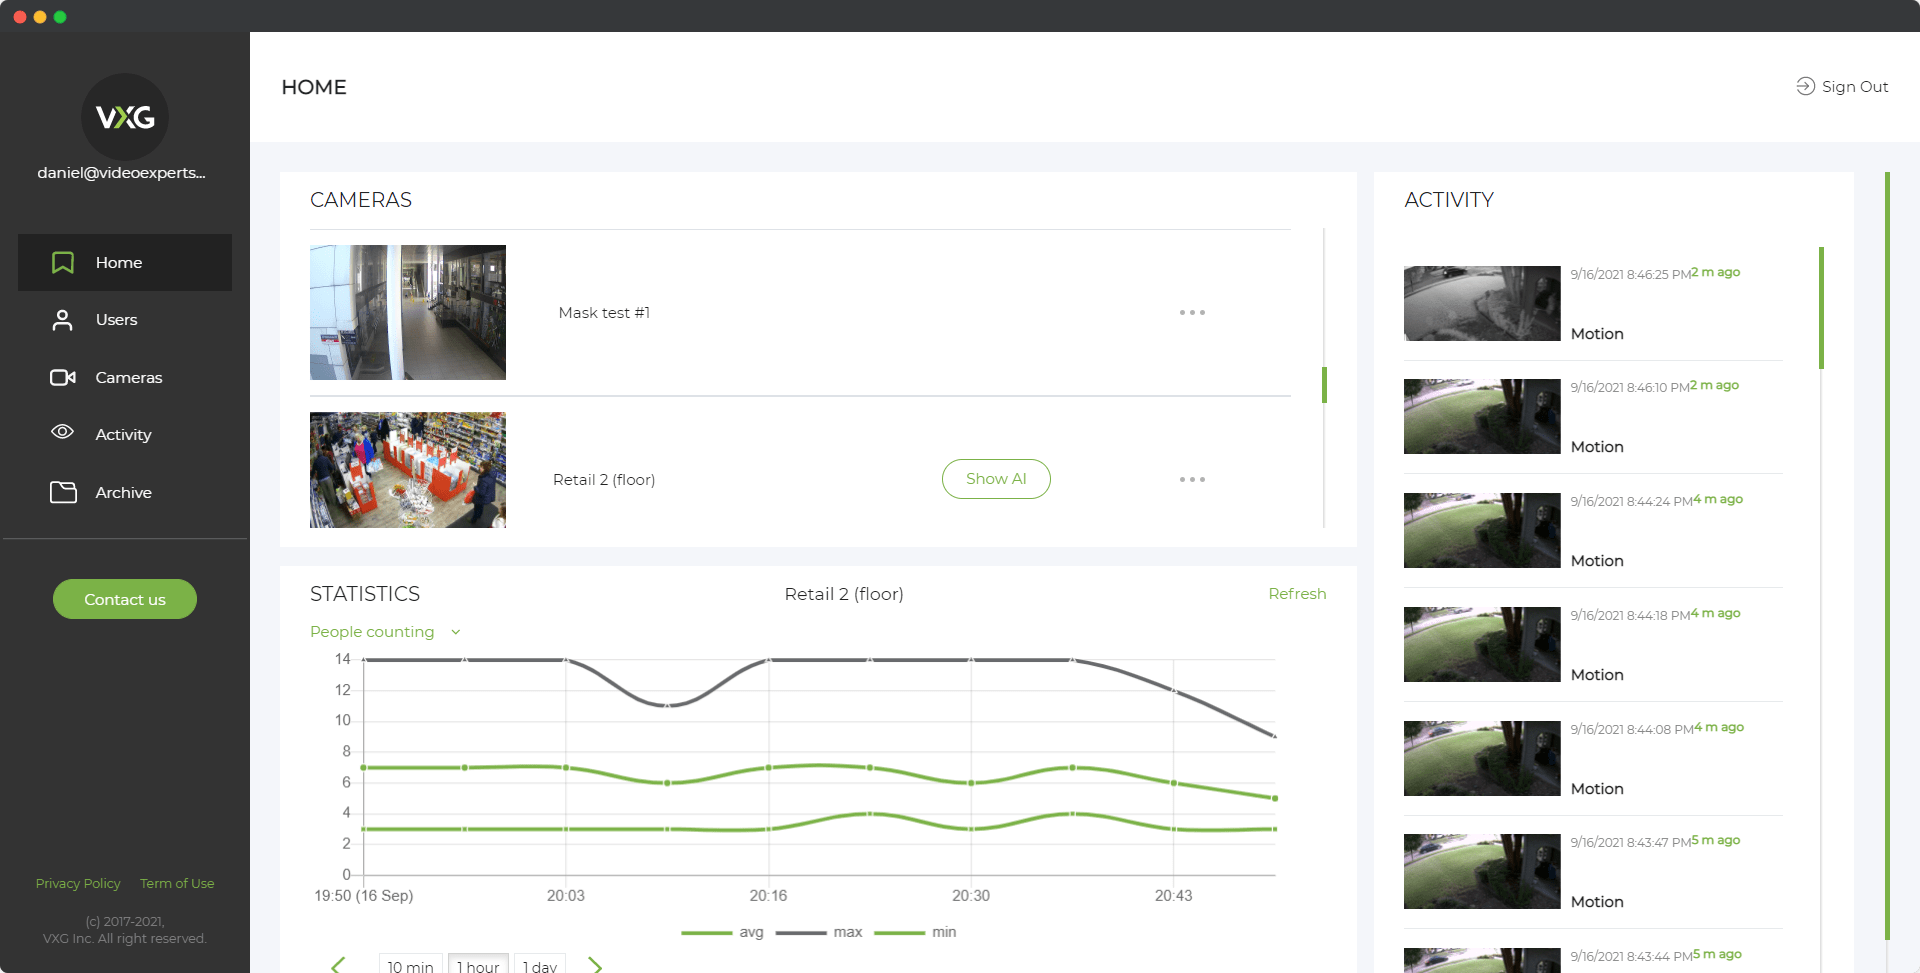
- Launch your NVR or VMS software: Open the software on your PC or NVR device.
- Add a new device: Find the “Add Camera” or “Device Management” option.
- Choose ONVIF as the protocol: Select ONVIF from the list of protocols.
- Enter the camera details: Input the camera’s IP address, ONVIF credentials, and port number (default is usually 80 or 8080).
- Test the connection: Verify the software can communicate with the camera.
Step 4: Configure the Camera Settings
- Set up video streams: Configure resolution, frame rate, and bit rate according to your needs.
- Enable advanced features: If supported, activate motion detection, audio, or PTZ controls.
- Adjust time settings: Sync the camera with your local time or an NTP server.
Step 5: Test and Monitor the Connection
- Live view: Check the live feed in your NVR or VMS.
- Record test footage: Ensure recording features are working correctly.
- Fine-tune settings: Adjust video quality or motion sensitivity as needed.
Troubleshooting Common Issues
- Unable to find the camera: Ensure the camera is on the same subnet as your device.
- ONVIF not working: Double-check that ONVIF is enabled and credentials are correct.
- Video not displaying: Update the camera firmware or verify codec compatibility.
FAQs


