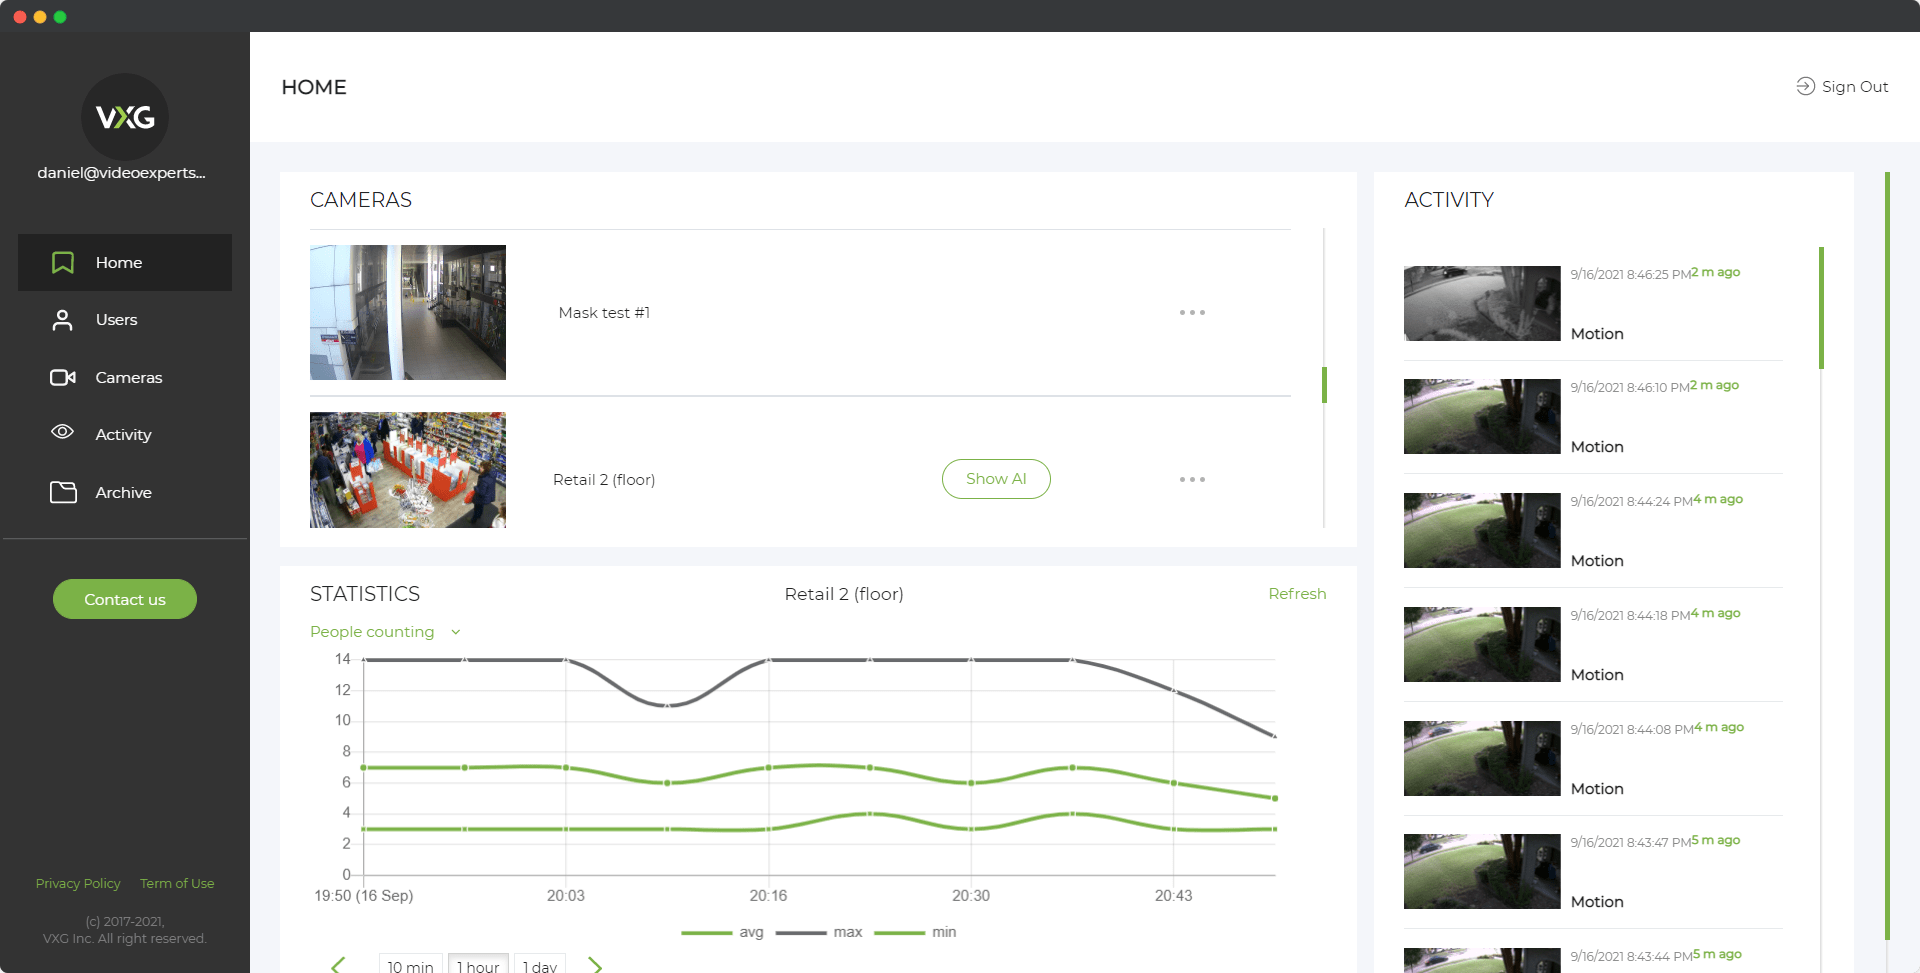
Cisco IP cameras are widely used in enterprise environments, providing high-quality video surveillance solutions with reliable networking capabilities. Known for their integration with Cisco’s network infrastructure and security features, these cameras are preferred by businesses for enhanced monitoring and security. However, like any IP camera, Cisco models come with a set of default credentials for initial setup. Understanding the default IP address, username, and password of Cisco security cameras is essential for a smooth setup process.
This article will guide you through the default IP, username, and password for Cisco IP cameras and address some frequently asked questions to help streamline installation and configuration.
Default IP Address
Cisco IP cameras are typically designed to connect to a network automatically using DHCP (Dynamic Host Configuration Protocol). This means that, by default, the camera will automatically receive an IP address from the network’s router. However, if DHCP is not available or if the camera cannot obtain an IP address, it may revert to a default or fallback IP address.
-
Automatic IP via DHCP: When you connect your Cisco IP camera to a network with a DHCP-enabled router, the camera will automatically obtain an IP address from the router. This address can be identified by checking the router’s connected devices list or using Cisco’s discovery tools.
-
Fallback IP Address: If the camera is unable to obtain an IP address from a DHCP server, it may use a fallback IP address. Cisco IP cameras sometimes default to an address in the 192.168.x.x range, but specific models may vary. For example, some Cisco IP cameras may use 192.168.1.100 as a fallback. Always check the model’s documentation to confirm the correct fallback IP.
-
Static IP Configuration: For installations where a static IP is preferred, you can configure the camera manually through the network settings after logging in. Assigning a static IP helps maintain consistent access, which is useful for monitoring setups that rely on stable, unchanging IP addresses.
Default Username
Cisco IP cameras generally come with a default username that is necessary to access the camera’s configuration interface. Using this username, administrators can log in for the first time and make adjustments to the settings and security configurations.
-
Default Username: The default username for Cisco IP cameras is typically admin. This administrative account has full privileges to adjust all settings, security configurations, and other options within the camera’s interface.
-
Changing the Default Username: While it’s common practice to keep the username as “admin,” some Cisco models may allow you to change it to enhance security. However, if the model doesn’t support changing the username, ensure the password is unique and complex to minimize security risks.
Default Password
The default password is essential for logging into the camera’s setup interface. Cisco IP cameras often use a simple, factory-set password for the administrator account, which should be changed promptly after the initial setup for security purposes.
-
Default Password: Cisco IP cameras generally come with a default password of admin or cisco. This is usually printed on the camera or included in the setup documentation. For security, changing the default password is highly recommended to prevent unauthorized access.
-
Importance of Password Change: After the initial setup, you should update the password to a strong, unique one to enhance security. Cisco’s camera management tools and web interface typically include guidelines for creating secure passwords, which helps minimize the risk of potential breaches.
FAQ
Cisco CCTV cameras are robust, reliable tools for surveillance and security, and knowing their default IP, username, and password is key to setting them up effectively. Always remember to replace the default credentials with custom settings to safeguard against unauthorized access. Configuring a static IP address, if necessary, can further simplify camera management and access in the long term. Following these steps will help ensure a secure and efficient setup, providing the peace of mind that Cisco’s surveillance solutions are known for.